
Restoring with Google Vault: A Step-by-Step Guide
By Angela DiacoGoogle Vault lets you retain, archive, search, and export your organization’s email and chat messages for purposes related to e-discovery and compliance. With the ability to set legal holds and search items in G Suite, Google Vault can seem like the best option for protecting your SaaS data. But when a user deletes an important email or an entire folder structure, what do you do next?
How to Restore with Google Vault
Step 1: Login and Create a Matter in Vault
Log in to your Google Vault account by going to the app navigator icon and accessing the Vault application:
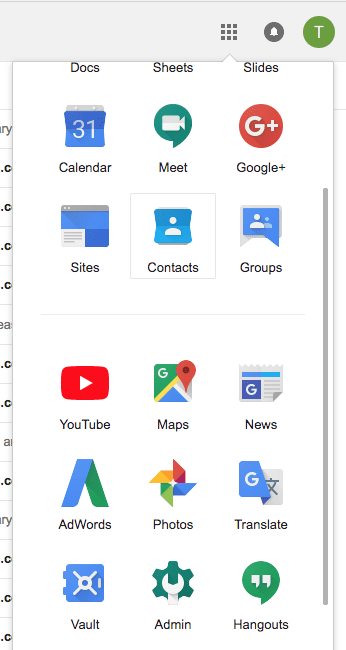
Note that Vault data is only accessible via search. There is no way to browse data without first performing a search.
In order to start your search, create a “Matter” for the item you’d like to recover. A Matter is a container for the data related to a specific topic, such as a litigation case or investigation. To create a Matter, follow the steps outlined in this Google Support article.

Once you have created a Matter, select Search from the left-hand side bar. This will allow you to navigate to the Search options screen.
All of the search options are essentially the same in functionality, although the terms (to/from/cc in Gmail or document name, file owner, etc. for Drive) are service bound.
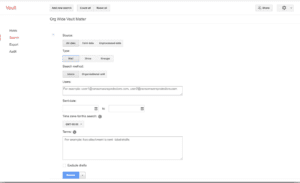
Step 2: Run Search Query and Select Files
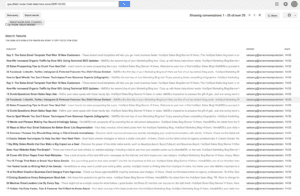
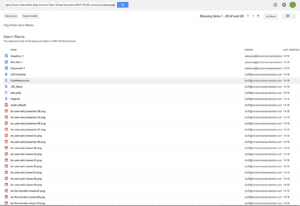
Once you’ve entered your search criteria, run the search (the output will look similar regardless of which data set you choose). Metadata structures are not maintained in Vault for Google Drive or Mail, so all the organizational structure a user has built around their files or emails (such as labels or folders) will be lost. As a result, navigation through the datasets will be somewhat challenging.
Vault Mail Search Results
Vault Drive Search Results
Step 3: Export Data
Once you’ve located the files or emails you need to recover, click the Export Results option to export the data down to a local file. For Gmail, you’ll have the option to export in .MBox or .PST format, and for Google Drive files, you’ll have the option to export sharing permissions as a separated file. You’ll also have the opportunity to name the exported files.
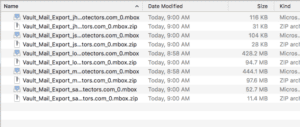
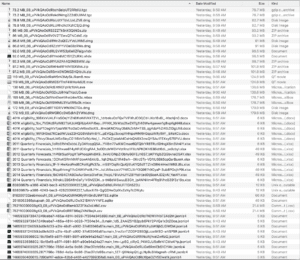
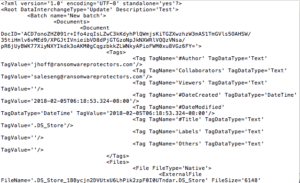
Once the export completes, you’ll have multiple download options for files. For Gmail, you’ll get a zipped folder containing a unique .Mbox or .PST file for each user mailbox/dataset exported. For Google Drive, you’ll get a zipped folder containing the files exported. If you’ve elected to receive a copy of the shared permissions, you can download an XML file containing the shared permissions. Note again that folder structures aren’t maintained for either Gmail or Drive data in your exports. For Google Drive, all Google Document formats will be converted to their Microsoft Office equivalents.
Here are examples of what your exports may look like:
Vault Mail Export Folder – PST

Vault Mail Export Folder – Mbox
Vault Drive Export Folder
Vault Drive Export – Sharing Permissions XML
Congratulations! Now that you have the data, the next step is getting it back into the GSuite environment. Note that for next steps, your end users may need to be involved in the recovery process for authentication, import and restoring the original organization of files and folders.
Step 4a: Importing Google Drive exports from Vault back into Google Drive
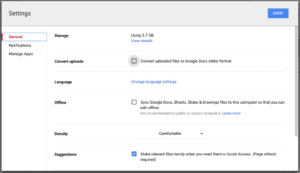
To import data back into Google Drive, drag and drop the files into your desired location in Drive or use Drive’s Upload feature to start importing the data. If you want to convert Microsoft files back to Google Docs, make sure to go into your Google Drive settings and checking “Convert uploaded files to Google Docs editor format” option (be aware that this will convert any applicable documents in your selection, not just the files that were originally in a Google Document format).
Again, folder structure is not maintained or imported and there is no way to import sharing settings directly from the file provided by Vault. To restore sharing permissions, you’ll need to consult the XML file for users with permissions to documents and manually re-grant the permissions.
Step 4b: Importing Gmail exports from Vault back into Gmail
To get your Gmail exports back into Gmail, an additional step is needed. There is no direct upload/import option for Gmail—instead, you must use a third party client. If you chose to export the data in .Mbox format, clients like Thunderbird (a Mozilla product) or an Apple Mail client are necessary. Our team recommends Thunderbird because the tool is hardware/OS agnostic. If you choose to use Thunderbird, you’ll need an add-in called “ImportExportTools” to successfully import the data. For a step-by-step guide detailing the five-step process for using Thunderbird, check out our Knowledge Base article here.
If you chose to export the data in .PST format, your only option is Outlook. For the process involved with importing the .PST files into Outlook, follow Microsoft’s steps outlined here. Once you’ve imported the data successfully, follow steps 1 and 2 covered in this Microsoft article to connect the account to your Gmail environment.
Conclusion: You Still Need Backup with Google Vault
As you can see, the Vault restore process is time-consuming and can have a major impact on productivity for your end users and your organization. While Vault can offer you options to recover small amounts of data in worst-case scenarios, it is not built to serve as a backup and recovery solution.
The import process is bandwidth intensive, and the time needed to complete uploads also depends heavily on the size of each file. All organizational structure is lost—so, users will need to rebuild their folder structure manually. Same deal with sharing permissions. You’ll need to manually update permissions for potentially thousands of documents one at a time.
Additionally, Vault doesn’t create a secondary copy of your data, independent of Google—so you have a single point of failure. If something happens to Google servers, which happens more than you think, you are out of luck. This is Data Protection 101 in the on-premises IT world. Many IT professionals mistakenly believe there is no need to backup data created in the cloud, however, storing data in a single cloud is just as risky as only performing backups locally. This is why many organizations take a “3, 2, 1” approach to backup (3 copies, 2 formats, 1 offsite copy).
Backupify for G Suite Backup
Backupify gives users an independent copy of their Gmail and Google Apps data, with automated backups to the Datto Cloud three times a day (with the option to backup on demand at any time). In addition, Backupify provides more comprehensive coverage than Google services – that includes email, contacts, Drive, documents, calendars, and Google Sites.
To learn more about Backupify for G Suite, see the product in action or request a free demo.